OS X Mail
These steps will take you step-by-step through setting up email in MacOS 10.6 Mail.
Step 1
Open apple mail, it's the postage-stamp icon on your Dock (or if it is missing, you can click on the finder button (should be the far left-icon on your Dock) then navigate to Applications and then open Mail).

Step 2
- Type your name as you would like it appear when people receive your email in the Full Name field
- Type your email address in both the Email Address field
- Type your password in the Password field
Then press Continue.

Step 3
- Select POP as the Account Type
- Type mail.ithinc.net in the Description field
- Type mail.ithinc.net in the Incoming Mail Server field
- Type your whole email address (this is important) in the Username field
- Type your password in the Password field.
Then press Continue.

Step 4
There will be a message mentioning that the security certificate for the secure socket is not verified. This is fine as we don't support POP3 over SSL. Just press Connect

Step 5
Uncheck the Use Secure Sockets Layer (SSL) checkbox, and then press Continue.

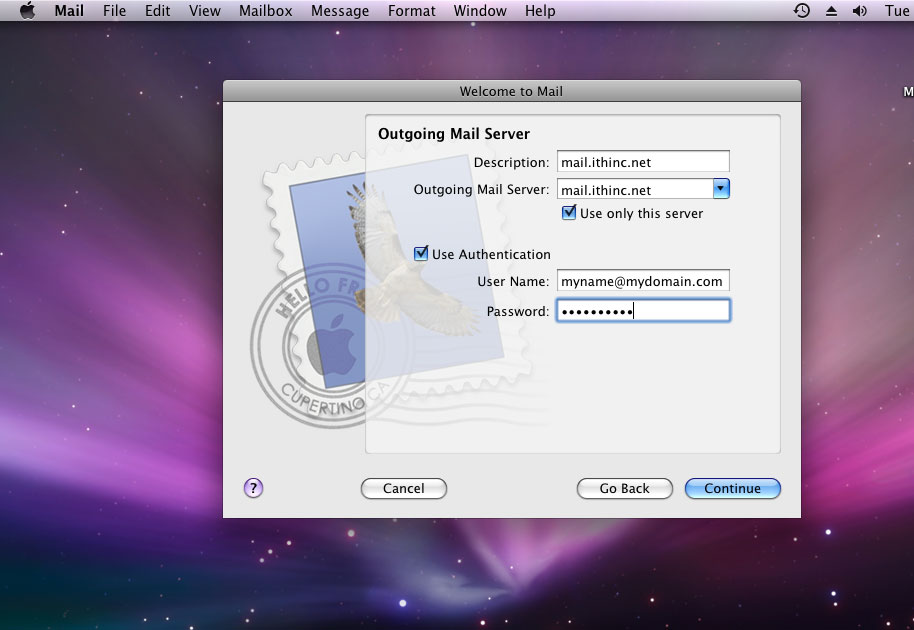
Step 6
- Type mail.ithinc.net in the Description field
- Type mail.ithinc.net in the Outgoing Mail Server field (it may appear as a drop down entry)
- Put a check beside Use Authentication
- Type your whole email address (this is important) in the User Name field
- Type your password in the Password field.
Note: You may or may not want to check the Use Authentication checkbox depending if you are checking multiple accounts from other ISPs
Then press Continue.
Step 7
This is just the conclusion screen, you can just ignore it and press Create. We're Not done yet (but almost)!

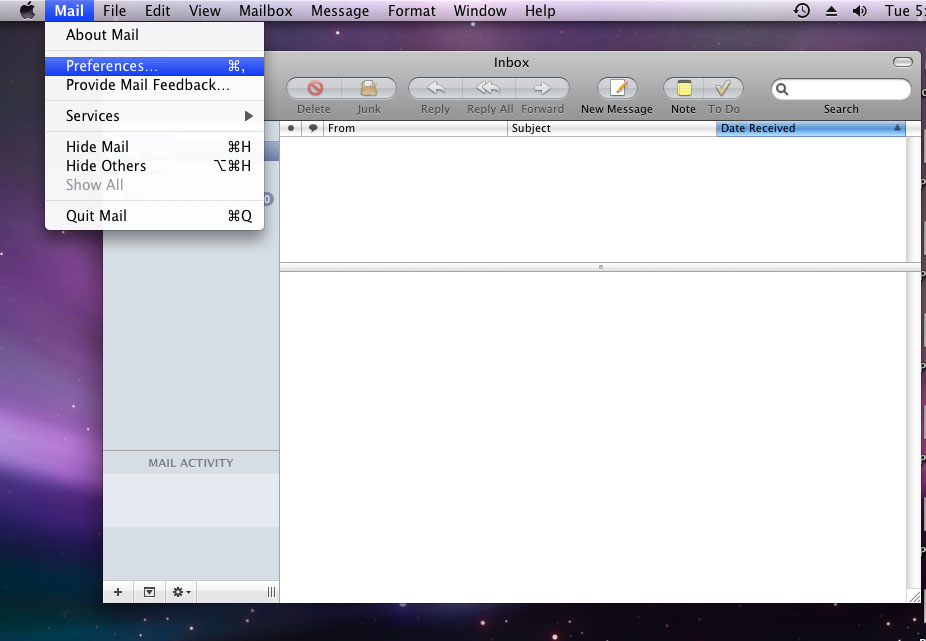
Step 8
Once Mail has loaded, click on the Mail menu item in the menu bar and select Preferences.
Step 9
Select the Accounts area (the "@" icon), and then select your email address if it's not selected already to the left. It should default to the Account Information tab, if not select it.

Step 10
Select the drop-down box next to Outgoing Mail Server (SMTP) and select Edit Server List

Step 11
In the new dialog box that appears, select mail.ithinc.net in the list above and then change the Server Port from 25 to 587 then press OK.
Make sure that the checkbox is NOT selected under Use Secure Sockets Layer (SSL).
You can now close the Mail Preferences dialog box (you may get a dialog to save your preferences upon closing, select Yes if you do) and you should be good to go! Good Luck!
